Aidan Singh
What it is
This device with Logic Pro X will take a recording, chop it into samples based on the transients, put it into a sampler instrument, and can play back these samples like a keyboard or drum machine.
Video Demonstration
How It Works
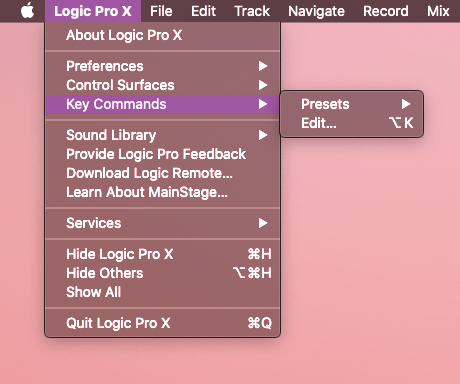
Setup Mode:
The setup mode mainly utilizes “MIDI Control changes.” When the switch is in setup mode, the buttons will each send a unique “control change” to Logic. To tell Logic how to interpret these control changes, I used the “Key Commands” setup window to to select the action I wanted a button to perform, and pressing the button, so Logic would associate the action and the button.
Through some research and browsing the possible key commands, I found that I needed these 4 commands to make my device convenient and effective: “Record” “Stop” “Slice at Transient Markers” and “Convert Regions to New Sampler Track”
I made the first button trigger “Record” the instantaneous moment it is pressed, and trigger “Stop” the moment it is released. The second button triggers the “Slice…” command when pressed, and the third triggers the “Convert Regions…” command when pressed.
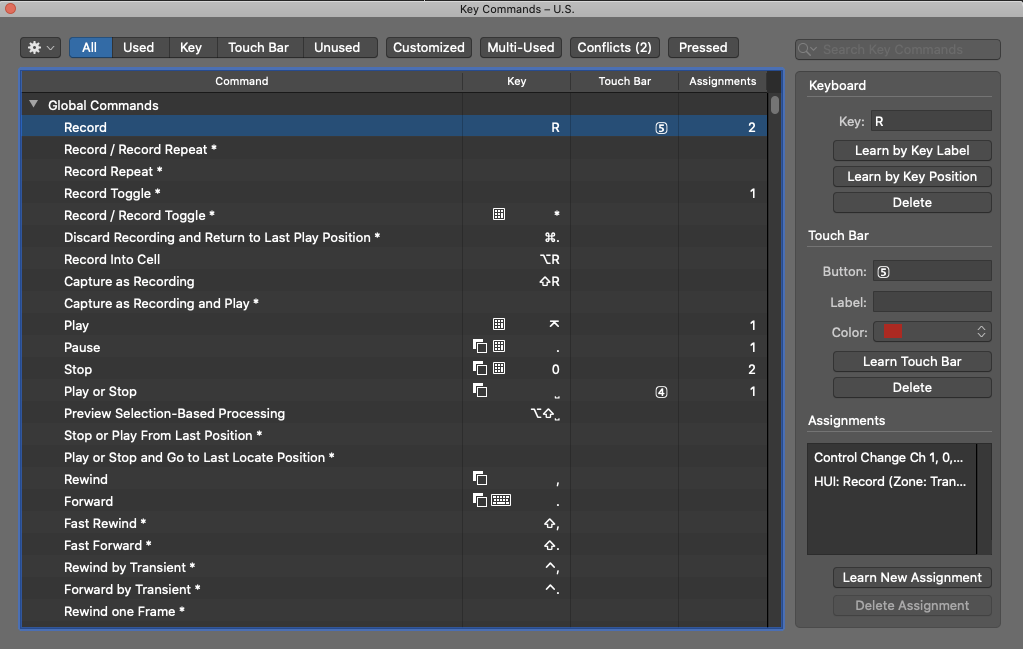
In the bottom right corner of the below photo, you can see the “Control Change” assignment that Logic learned to trigger the “Record” function from my button press. This is in the “Assignments” part of the window.
This control change is sent by the teensy using the function: usbMIDI.sendControlChange(Control, Value, Channel)
For the “Control” parameter I input the button’s number (from an array of 0-7), for the “Value” parameter I input the state the button changes to(1 being pressed and 0 being released.) The “Channel” is always set as 1. See lines 56 and 65 in my Arduino code.
Playback Mode:
This mode sends a different MIDI note for every button, from a “pitch” of 0 to 7, a velocity of 90, and using channel 1.
The sampler instrument remembers the last parameters I used when setting up a sampler instrument. This was to set the samples between C-2 and G#-2, which are the lowest 8 MIDI Values.
If this isn’t the default sampler setting, it is easy to change in the prompt where I named the instrument.
See where I sent the MIDI in lines 54 and 63.
This project used button code, LED updating, and array use similar to previous labs.
Arduino Code:
int ledPin [8] = {25,26,27,28,29,30,31,32};
int buttonPin [8] = {33,34,35,36,37,38,39,14};
bool lastButtonState [8] = {LOW,LOW,LOW,LOW,LOW,LOW,LOW,LOW};
bool buttonState [8] = {LOW,LOW,LOW,LOW,LOW,LOW,LOW,LOW};
bool switchedOn[8] = {false,false,false,false,false,false,false,false};
int switchPin = 15;
bool setupMode = true;
int setupLED = 9;

void setup() {
  for(int i=0;i<8;i++){
    pinMode(ledPin [i],OUTPUT);
    pinMode(buttonPin [i],INPUT);
  }
  pinMode(switchPin, INPUT);
  pinMode(setupLED, OUTPUT);
}

void loop() {

  if(digitalRead(switchPin) == LOW){
    setupMode = false;
    digitalWrite(setupLED, LOW);
  }else if(digitalRead(switchPin) == HIGH){
    setupMode = true;
    digitalWrite(setupLED, HIGH);
  }

  checkButtons();
  updateLeds();
}

//Button and LED Code Below

void checkButtons() {

  for(int i=0;i<8;i++){
  lastButtonState[i] = buttonState[i];
  buttonState[i] = digitalRead(buttonPin[i]);
  if(lastButtonState[i] == LOW && buttonState[i] == HIGH) {
    flipButtonState(i);
    delay(5);
  } else if(lastButtonState[i] == HIGH && buttonState[i] == LOW) {
    flipButtonState(i);
    delay(5);
  }
  }
}

void flipButtonState(int i) { //at moment button is pressed or released, sends MIDI or control changes
    if(switchedOn[i] == true) {//based on the mode Switch
      switchedOn[i] = false;
      if(setupMode ==false){
        usbMIDI.sendNoteOff(i,0,1);
      }else if(setupMode ==true){
        usbMIDI.sendControlChange(i,0,1);
      }

      //usbMIDI.sendControlChange(i,0,1);
    } else if(switchedOn[i] == false) {
      switchedOn[i] = true;
      if(setupMode ==false){
        usbMIDI.sendNoteOn(i,90,1);
      }else if(setupMode ==true){
        usbMIDI.sendControlChange(i,1,1);
      }
    }
}

void updateLeds() {
  for(int i=0;i<8;i++){
  if(switchedOn[i] == true) {//lights LED if button was pressed
    digitalWrite(ledPin[i], HIGH);
    }
    else {digitalWrite(ledPin[i], LOW);
  }
  }
}